Showing posts with label Sew. Show all posts

Wednesday, July 11, 2012

Autumn Pillows Tutorial

Okay! So I decided I wanted to try a tutorial, which means LOTS of pictures, and I hope it's easy enough that even non-sewers would feel comfortable giving it a try. 
A long time ago, at a birthday far far away, I was given leaf appliques. Wearing leaves on clothes isn't really "me" (or at least it wasn't, I've recently come up with a patch idea that might change all that) so they mostly just sat in my craft supplies for years and years and years. Finally, I got married and all that jazz, and suddenly I looked at those leaves with new light. I decided they would look perfect for an autumn addition to my couches! and so we being. 
We're going to start with the appliques and design already on the fabric. It was just an iron on, and it should come with instructions (Peal off, iron on, don't steam.. easy instructions like that) Then I just bought a little bit of fabric paint and free handed the design of branches. 
 When it comes to sewing, I'm a little unorthodox. I haven't used a pattern with the last half dozen things I've sewn, and the other things I do use a pattern for, I usually alter the pattern as I go. Pretty much I tend to just wing it. So, for this, I measured out how much edging I wanted around my design plus half an inch or so for seam allowance, and put my design square on the edging fabric to measure.
 Since my edge material was a plaid-esque design, I was able to just follow the line all the way up.
 There's my fabric all the way cut
And then there were two. My fabric ended up being the right length that it fit two sides, as you'll hopefully see.
 Now I just pinned down the edge design facing design
 Next, I sewed it. This isn't too scary. Just follow in a straight line, and make sure you take the pins out as you go (you can break the needle if you leave the pins in) When you first start, you want to back stitch (the sewing machine will have this option) to make a 'knot' and back stitch again when you've reached the end.
  Then I trimmed the excess, and saved it for later
 See? Now I have a nice seam.
 And the excess that I cut off will fit perfect for one of the longer sides.
 Now I repeated those steps with the second strip I sewed, so now I've got my two opposite sides sewn on.
Next I trimmed the seam (lots of extra fabric on the seam can make it hard to lie flat, and can make sewing through more difficult) 
 Now I pinned on the remaining two sides..
 And all sewn! Loots pretty good, eh?
 Now the next thing to do is iron. Being unorthodox, I don't always do this, but since I was making a pillow, this was really my only chance to get all the wrinkles out of my material. (you'll noticed I failed to do that before I added my fabric paint. Oops!)
 I just used my front face of my pillow to measure the material I would need for the back. I measured this exactly because the seam allowance on the front will be the same as on the back.
 Looks pretty good!
 Now I iron out all the creases in the back material
 Okay, this is going to seem a little tricky (for beginners) so stick with me. I pinned the front and back together, design facing in.
 It's important to leave a gap and DON'T SEW OVER IT! You'll see why.
 So here it is, all sewn together, with the gap still there.
 Now I trimmed the corners. This is where seams tend to have the most problem, so the less fabric there, the better.
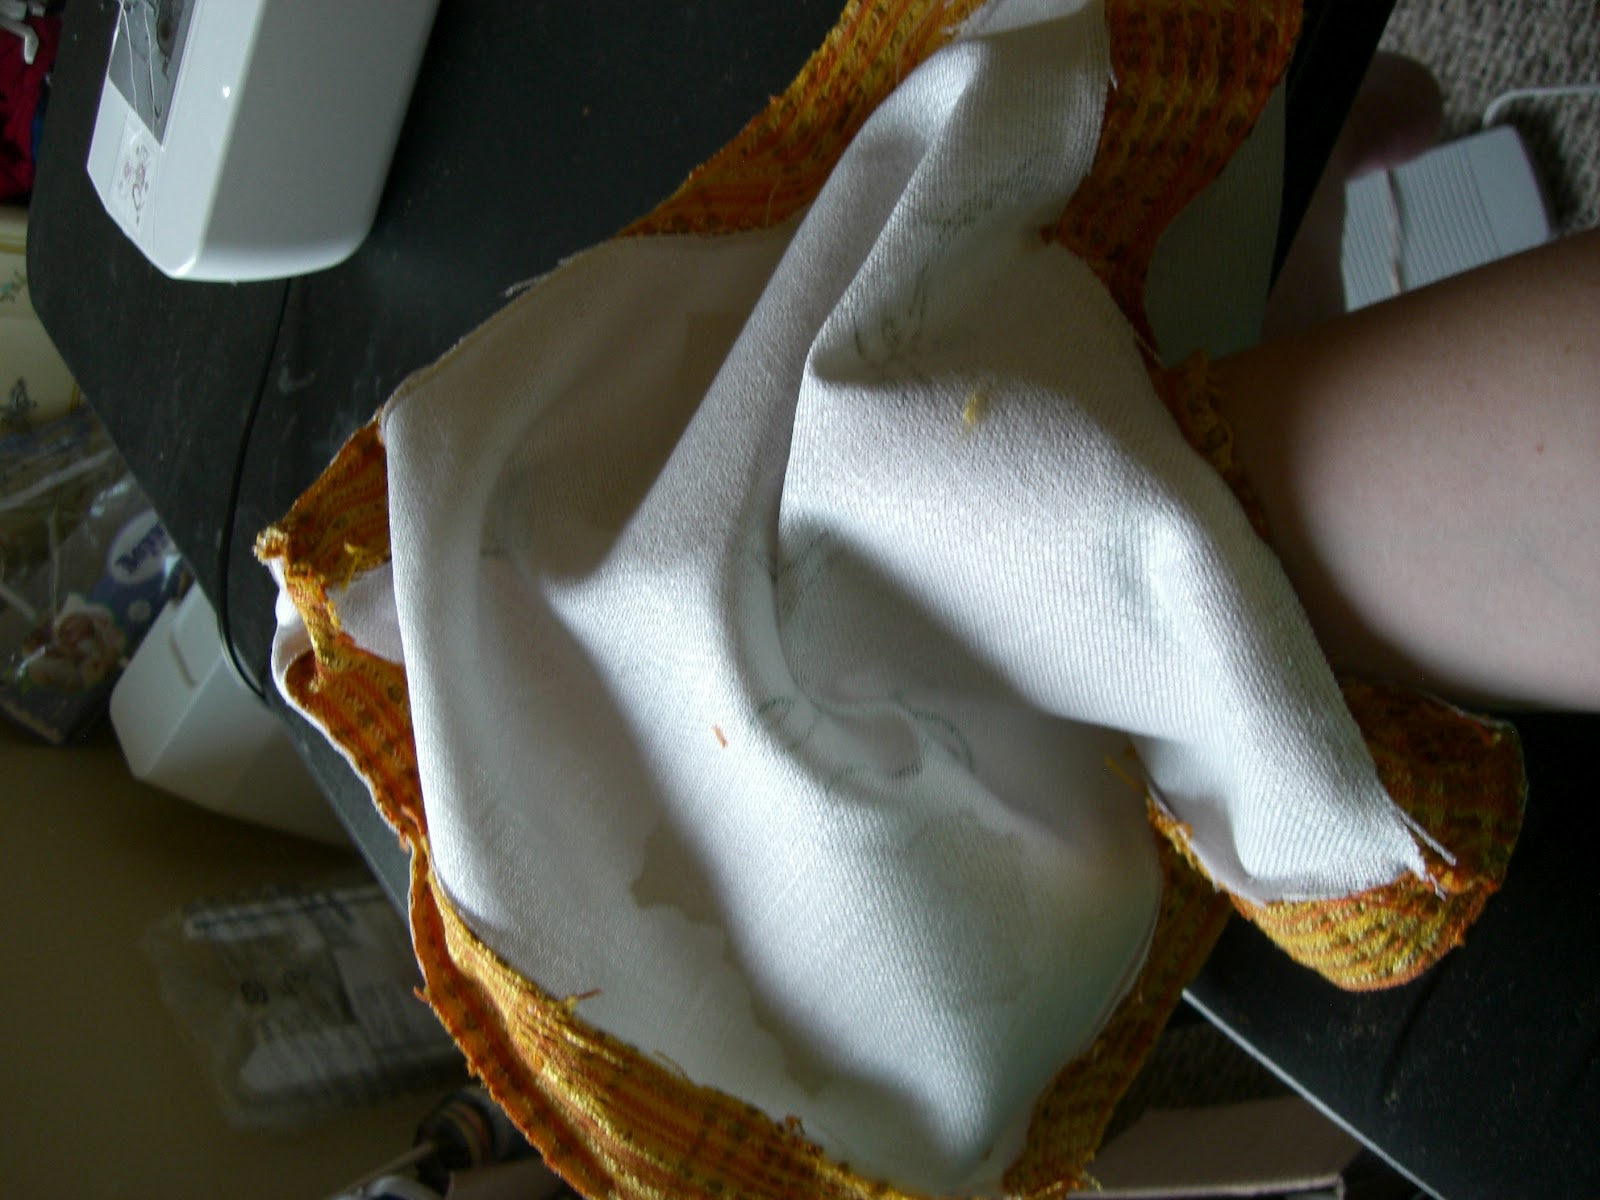
 Next, I reached through the hole I left, and grabbed the corner on the inside...
 ... and pulled it through my hole. Pull all of the fabric until...
 ... it's right side out! Now that looks like a pillow!
 Next I stuffed it with batting (my mom just gave me her extras)
 All stuffed. Now I need to sew the hole. This is the tricky part.
 You don't want a raw edge, so you need to fold it in, like so.
 Both folded in, now you need to pin it.
 I use LOTS of pins here, because the fabric likes to unfold itself, and you really don't want the raw edge showing.
 Now carefully sew the hole shut, taking out the pins, like before.
 and voila! Pillow!

Here are two of them all finished! I didn't have enough batting for the third, so it's still sitting in my craft room. I think they will look splendidly on my couch come September!

(Remember how I didn't post for FOREVER?! Yeah, there is going to be a lot of guess work in this next part)
Time: a few hours. The fabric paint had to dry overnight.
Cost: if you're buying it all, I'd guess between $20 and $30.

Baby Mobile... Of Sorts

You may remember my baby girl 

Isn't she the cutest?! 

So, being poor (yes, it's a common theme right now) we didn't really have money for toys for our cute girl, so one day my husband comes to me and says "You should just whip together a mobile with some fabric toys from the scraps you have so she has something she can look at."
Well, okay... 
So, with that as background understanding, here is what I came up with:
Not the best, cutest, or most easy to deal with mobile ever, but it keeps her happy. 
So here's what I have to work with:
 My fabric

 My ribbon


Raffia
 And a sewing machine. 
As you can see, I just stuffed raffia in the middle to give them dimension.
And sewed them up... 

All around the machine... I am a dork!
All sewn up

For the final part, I just wrapped the end ribbon pieces around a cane my husband used for our wedding. Not too bad for an on-the-spot project!

Time: less than an hour
Cost: free!

Back with Christmas!

I have not written in quite some time! I would give you all sorts of excuses, but the truth is, I'm just not a writer. The good news is I have been crafting the whole time I've been absent, so I will have lots to share today! And from now on, this is how I will probably update my blog, one big heaping pile of posts every now and again. :)

SO! To start back up, I thought I would show you the cute stockings I made last Christmas.


Aren't they cute? My husband had specified that he wanted a BIG stocking, and since we're poor, I decided to make some. My mom had a box of Christmas fabric (thank heavens!) and I made up the patter by tracing a stocking my mom had hanging up, and then adding to it a little. 

I used the green ones as a pattern for the red. I just used the left overs to add the trim on top. 


This is me trying to figure out the logistics and seeing how it will turn out. 

 The finished product!

One of the best parts, both sides work! These were actually pretty simple to make, and for not having a pattern, I think they turned out splendidly! 

Time: 3-4 hours
Cost: For me, nothing, but if you wanted to do this, maybe $30? If you got the quilted fabric I used, and I have NO idea how much the white fluffy material would cost.

Wednesday, October 12, 2011

50's Summer Dress

In 2009, I decided I wanted to be a 50's chick for Halloween. So, I found this super quick pattern, and some fabric hiding in a closet and sewed together a dress in three days! True story! It did drive be nuts at a few points within those three days, but I finished it! 
This is the only picture I have of the whole dress, and it doesn't show the bottom well, but it gives you a good idea. So the dress is just one piece. You put the dress over your head, then bring the front around and button it in back, and bring the back around and button it in front, so it looks like a vest. In the picture, the bottom part with the blue edging actually comes down to my knees to make a full skirt. Also hiding in the closet was ribbon made from the same material as the dress, so the headband and the dress match perfectly!

Total cost: All I bought was the blue edging and 6 buttons, so the cost was less than $10, I believe
Total time: I know for a fact I start Monday and finished Wednesday, but the hours I'm unsure of. probably around 20 hours. I know my mom and all her sewing friends were impressed with how quickly my first major sewing project went.

Sunday, October 9, 2011

Engagement Dress

I love the 1950's! For our engagement pictures, we decided we wanted to do vintage pictures of different era's, so I made a dress. Not only does it LOOK vintage, but the pattern I used was from my grandma from when the dress was actually in style! How fabulous is that?! 
 As you can see from the pictures, it was a fairly simple dress. It has a zipper on the side to get in and out, which is actually quite tricky, especially since the pattern was missing sleeve pieces, and the sleeves I made were too long and skinny to slip in and out with ease.
The dress had a very wide neck, very simple, and I also sewed a few extra scraps to use as ribbons in my hair. 
The most time consuming part was probably the pleated skirt, although it really wasn't too difficult, except when I needed to size it down to fit my hips. All in all, not too bad. 
Also part of the pattern was a belt, which is super cute! you can see it slightly in this picture. It also wanted me to make a drapery to hang from the belt, but I was using cloth that was given to me, and I didn't have enough to make the drapery. 

Total time: about 20 hours
Total cost: since the fabric was free, just thread and the belt loops were purchased. under $5